 You Will Need:
4 Foot Square Card Table
5 Foot Square Plywood
Wood Stain & brush to apply stain
Black Permanent Marker
Fringe
Beaded Fringe (Optional)
Hot Glue
Template (download here)
Carbon Paper
Pencil
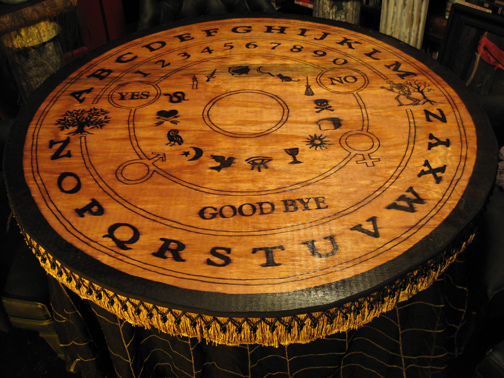
Take an ordinary card table and turn it into the ultimate Halloween seating area. Cut out a large circle of Plywood that is larger than your card table top. Sand the edges of the Plywood. Place a piece of thick fabric or a towel over the card table top and lay the Plywood on top of the fabric. The fabric should keep the wood from sliding around.
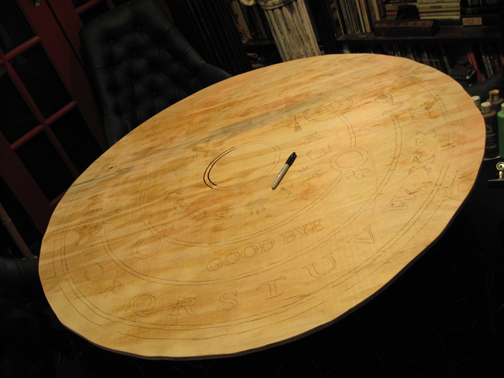
Print out the template sheets and tape them together to form your pattern. Tack the pattern onto the wood top to hold it in place. Lifting one portion of the template, place a sheet of carbon paper underneath. Trace the pattern using a pencil. Move the carbon paper to the next area and repeat until the whole design has been traced onto the wood. Once you are done, remove the paper pattern. Now, go over all the lines again with the permanent marker. Fill in the letters with the marker. Color in any other areas you want solid black.
 For the outer edge of the table you
  can use black, craft paint instead of marker. This will be much quicker than using a marker.
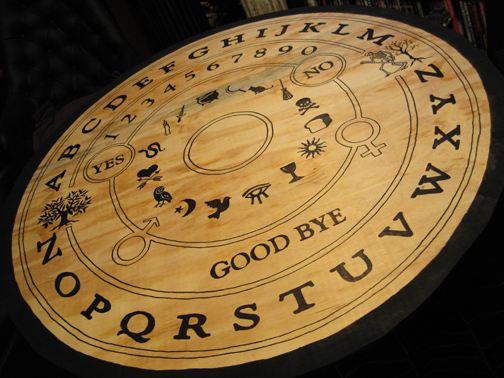
Take the wood outside or to an area you can safely apply the wood stain. Follow the wood stain instructions and allow to dry completely. Several coats may be needed to seal the wood grain and keep your guests from getting splinters. Keep this in mind when using Plywood. The stain will also cause the marker areas to slightly "bleed". We though this added a nice aged look. If you want your design "perfect", you may want to use paints that will be compatible with the wood stain.
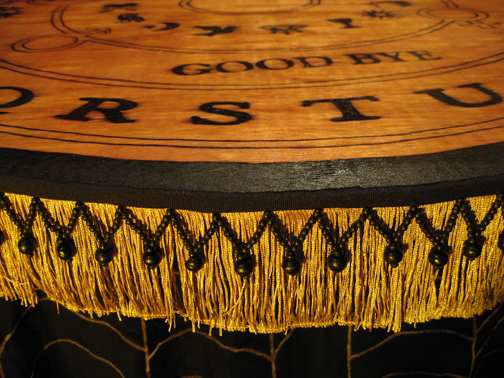
Once dry, you can put can apply the trims. Use hot glue to apply the trim around the edge. The trim can overlap the top rim or go just around the edge, depending on the trim design. We used two different trims on our table. The gold trim had a black fabric top edge that we wrapped from the wood top edge and draped down. The beaded trim was added only to the wood edge over the gold.
Set your card table in place where you would like your guests to sit. To hide the table legs, drape a large, Halloween-style table cloth over the table, under the wood. Place the finished wood Séance table top in place and decorate as needed.
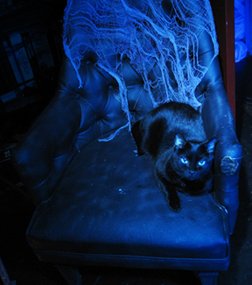
TIP: use old, tattered chairs around the table for a well-used look. We found ours FREE at the side of the road! We spray painted them black and layered them with some cheesecloth spider webbing and were all set.
 |
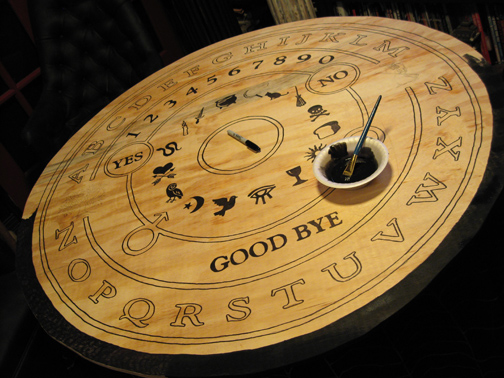 |
| Step 1: Go over the pencil pattern lines with permanent marker. | Step 2: use black paint to fill in the table edge band. |
 |
 |
| Step 3: Fill in the letters and any solid areas with black marker. | Step 4: shown here with several coats of stain. |
 |
Download Pattern Pieces in 8.5x11 sheet size ready for printing. Tape these together for a 42 inch table template! |
| Detail: gold and beaded trim hot glued to edge. |
