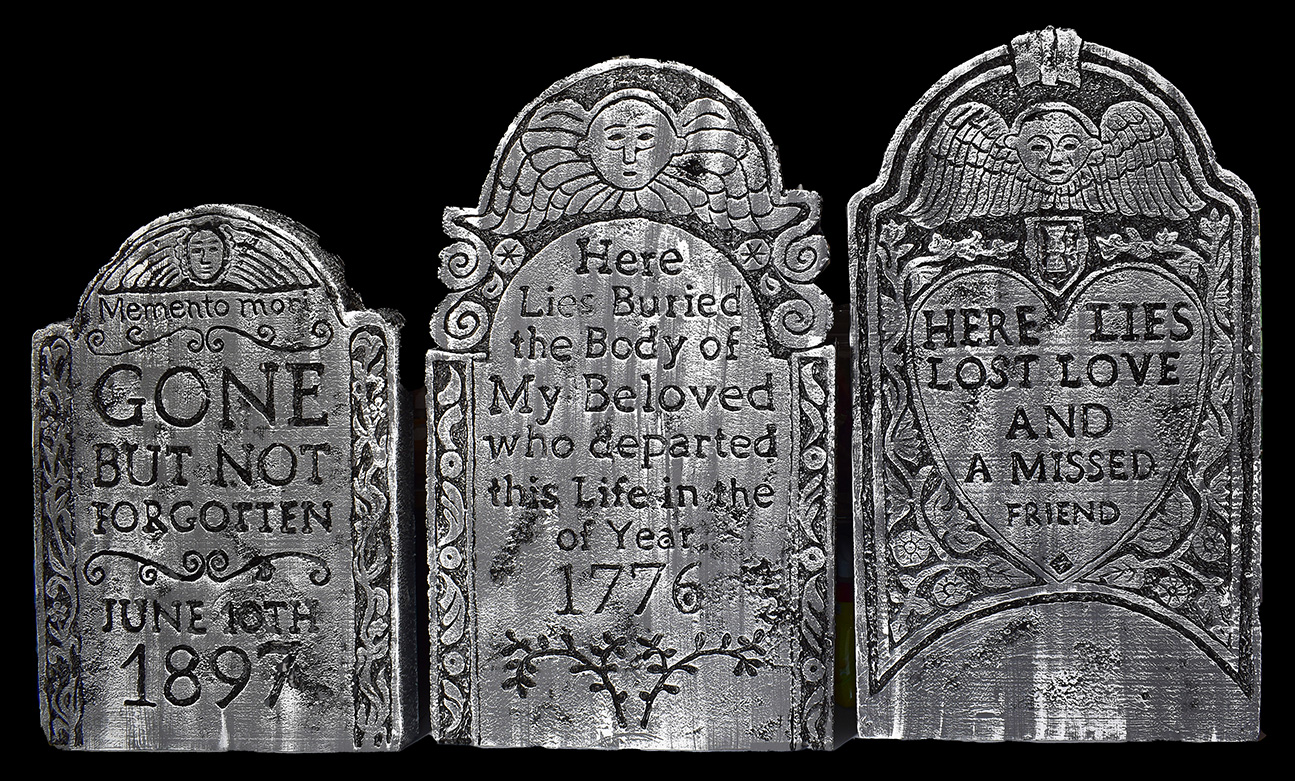
Final Carved Tombstones
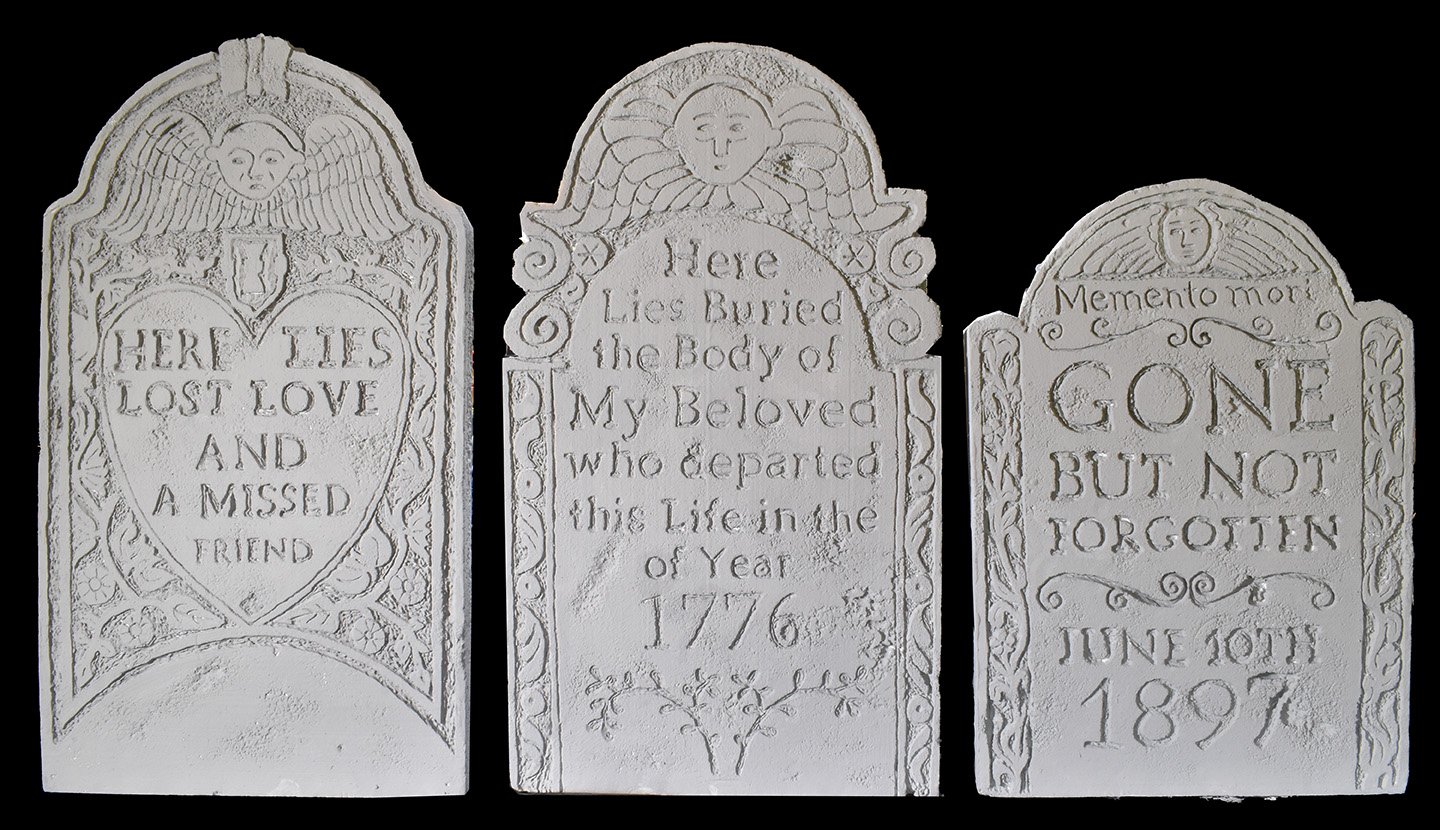
Final Painted Tombstones
Download zip files of 8.5 x 11 paper sizes. Print out and tape together. Some overlap is provided. Trim outside edges.
PATTERNS HERE: Tombstone1.zip, Tombstone2.zip, Tombstone3.zip
Final Carved Tombstones
Final Painted Tombstones
Download zip files of 8.5 x 11 paper sizes. Print out and tape together. Some overlap is provided. Trim outside edges.
PATTERNS HERE: Tombstone1.zip, Tombstone2.zip, Tombstone3.zip

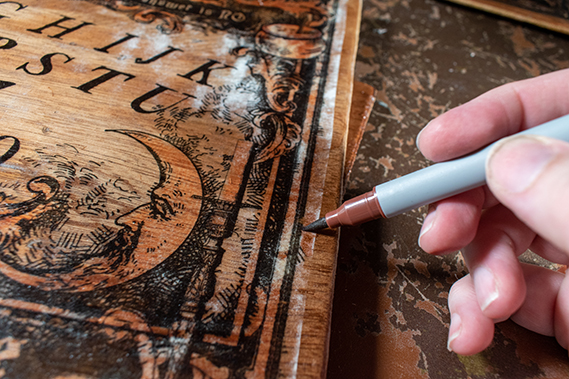
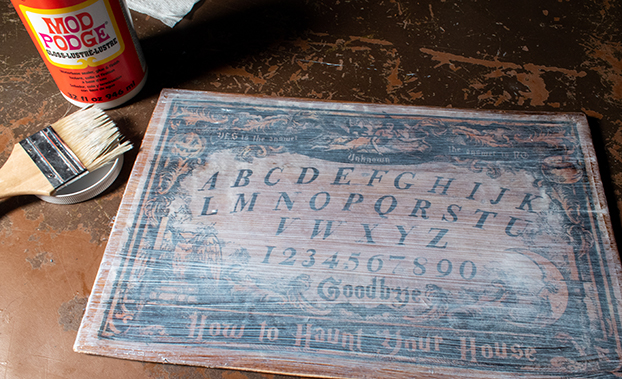
Using Mod Podge to transfer Inkjet Print to wood:
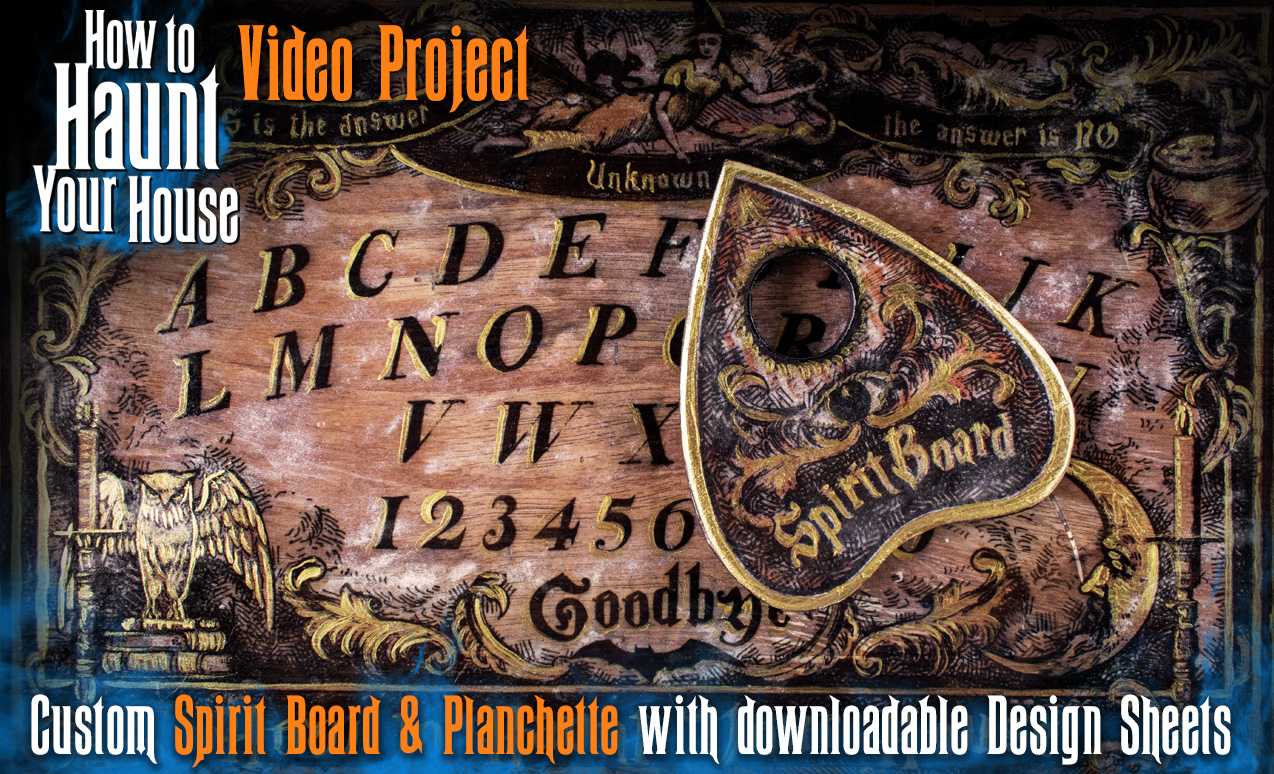
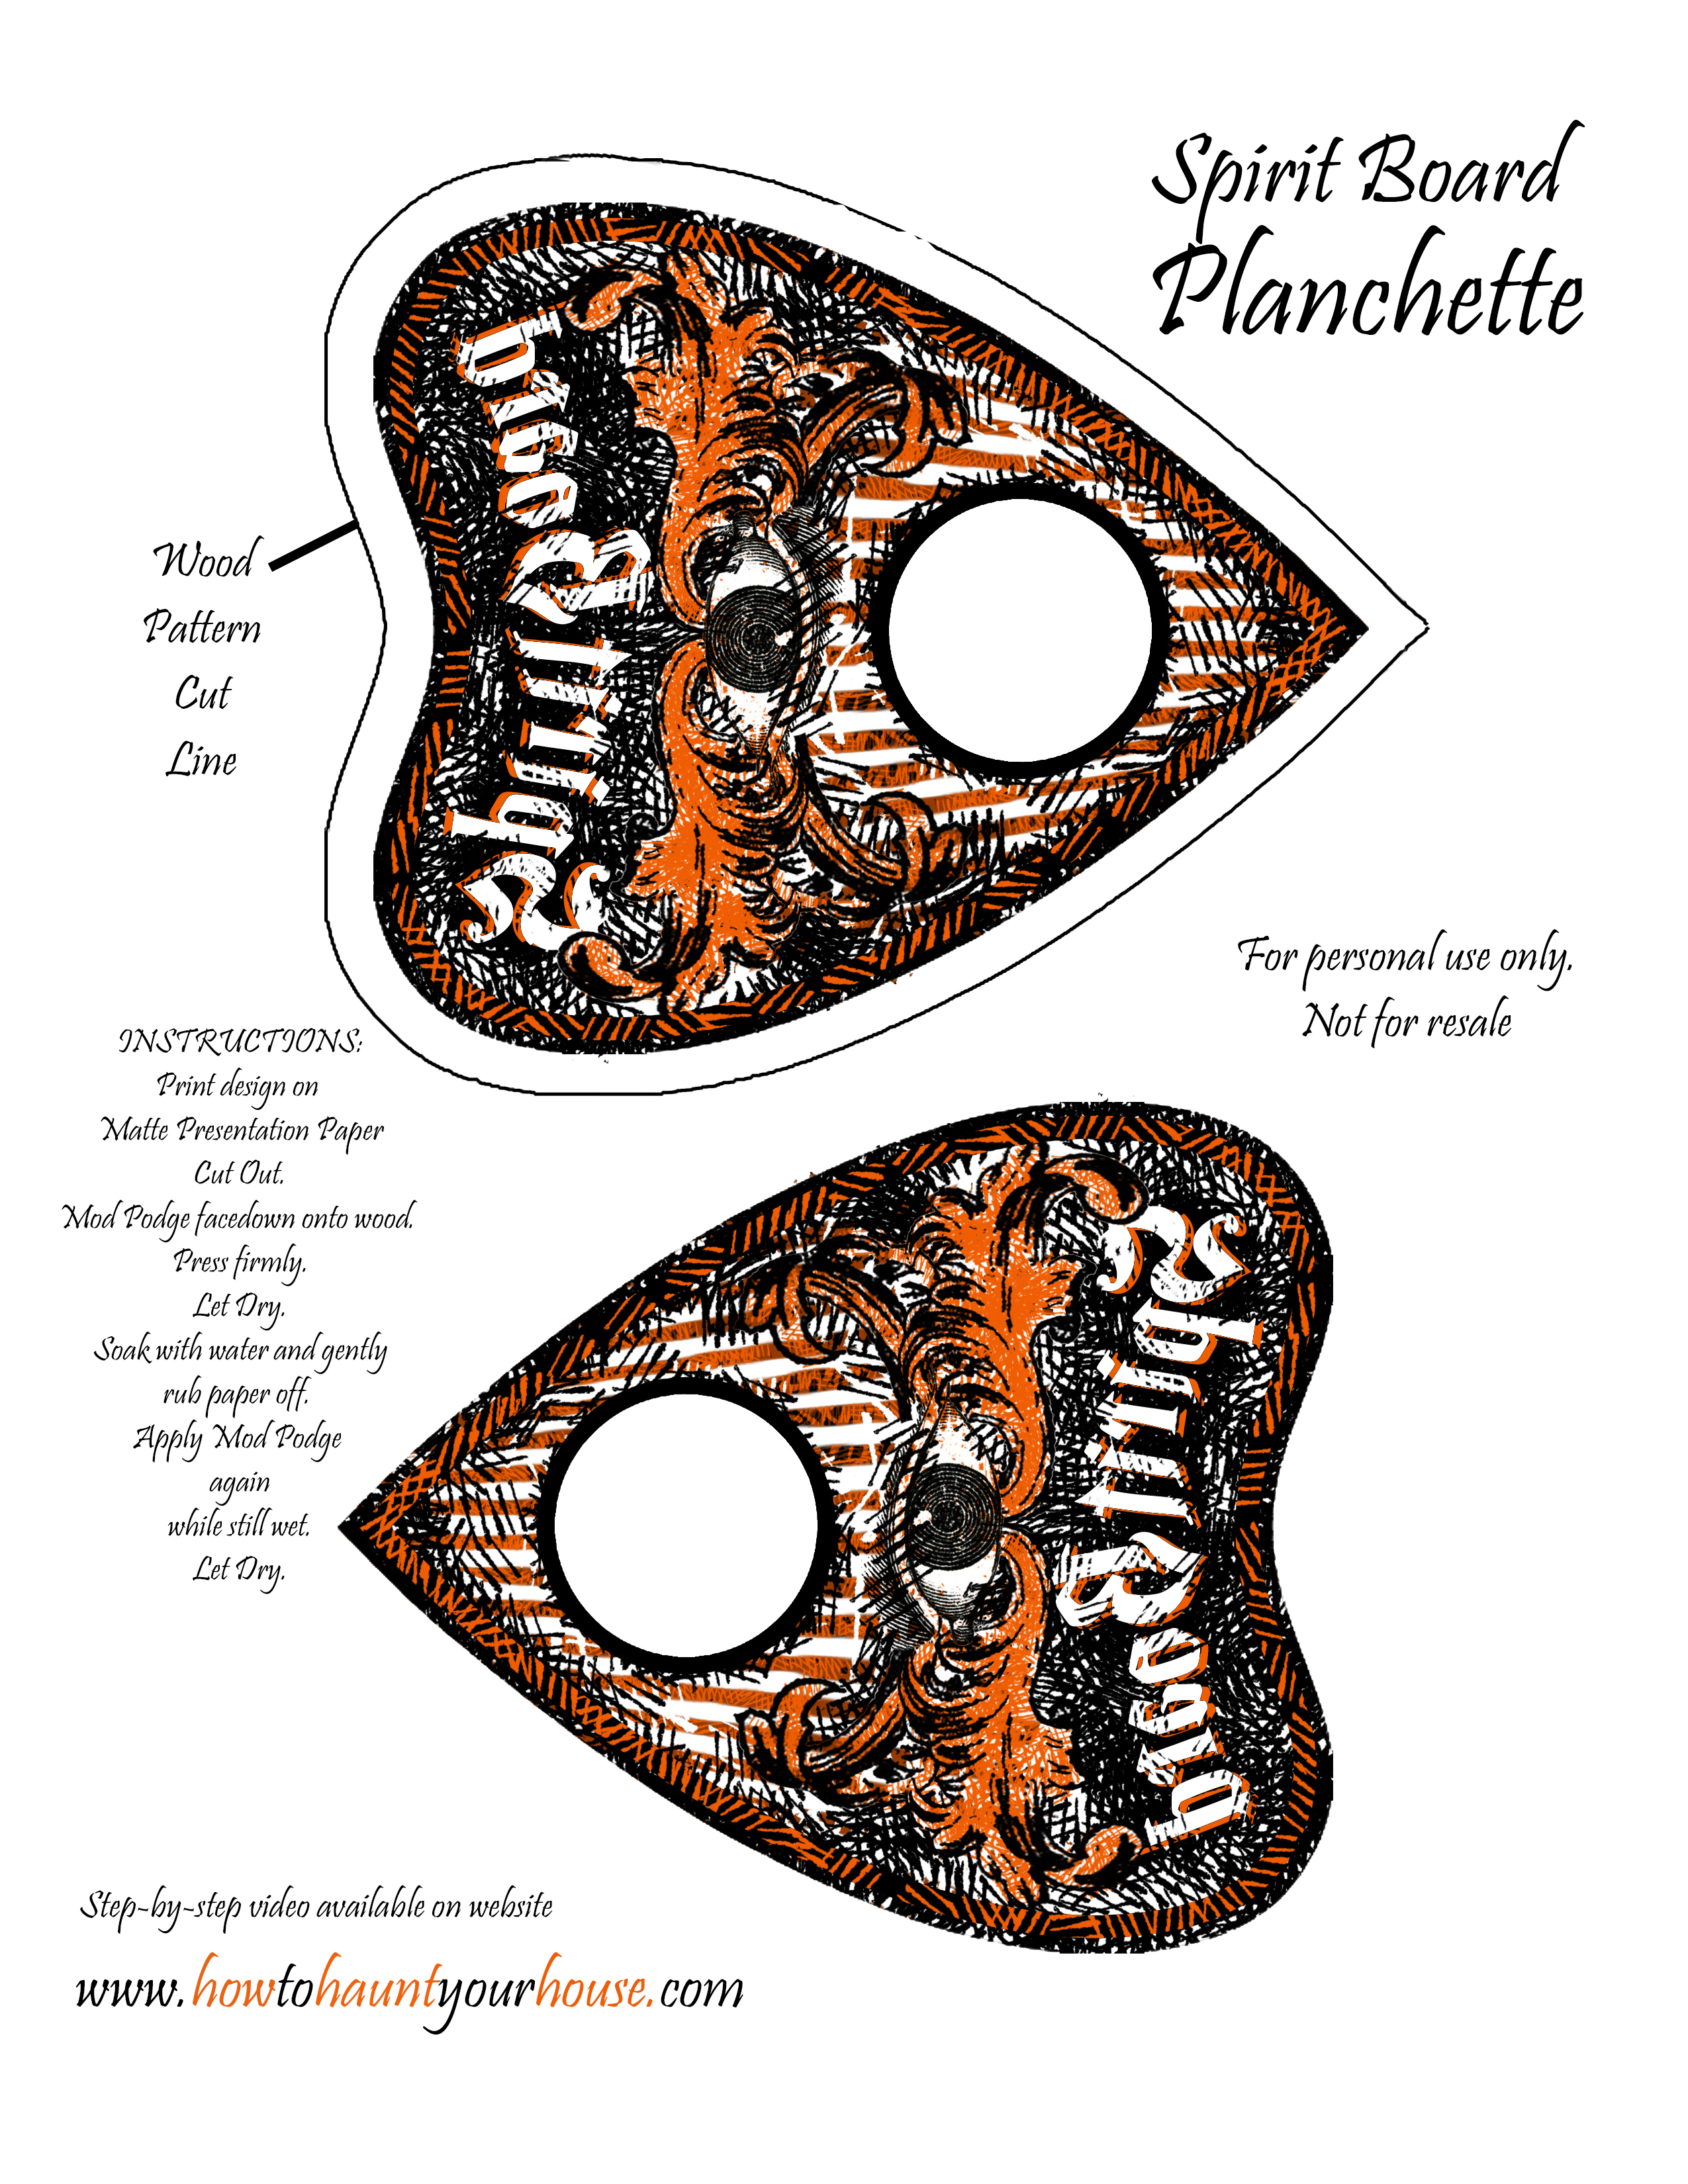
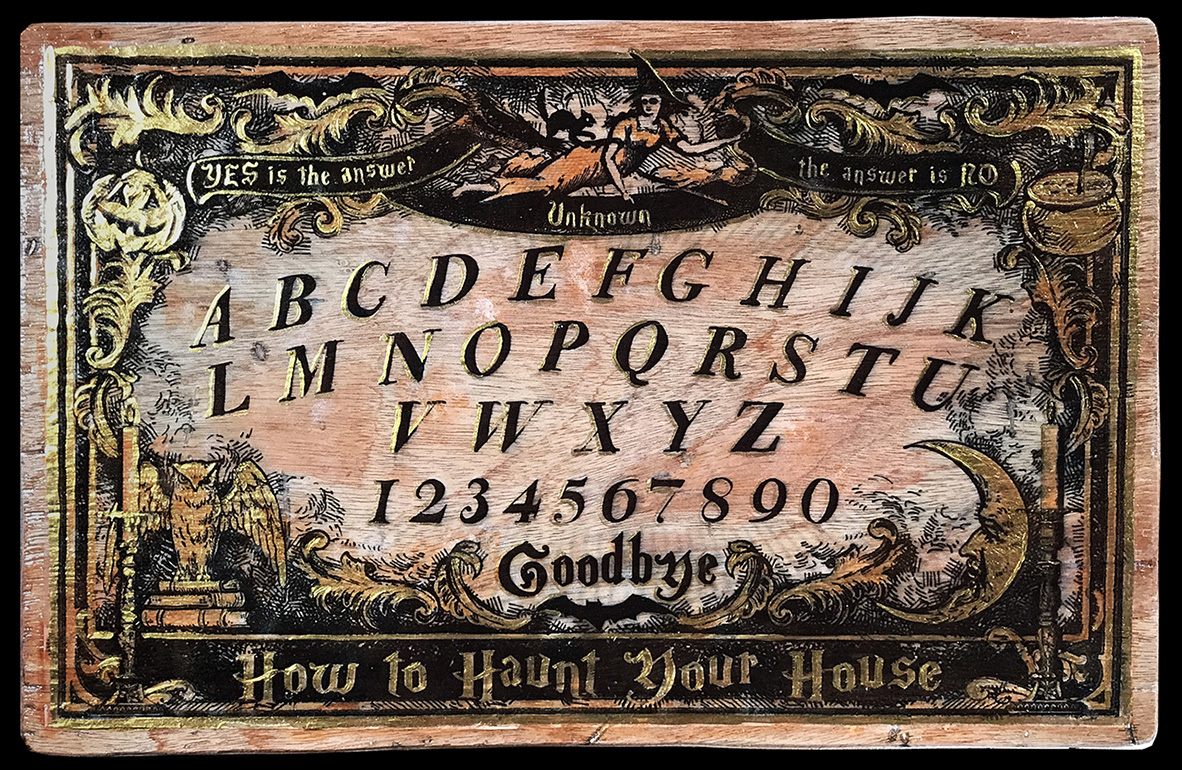
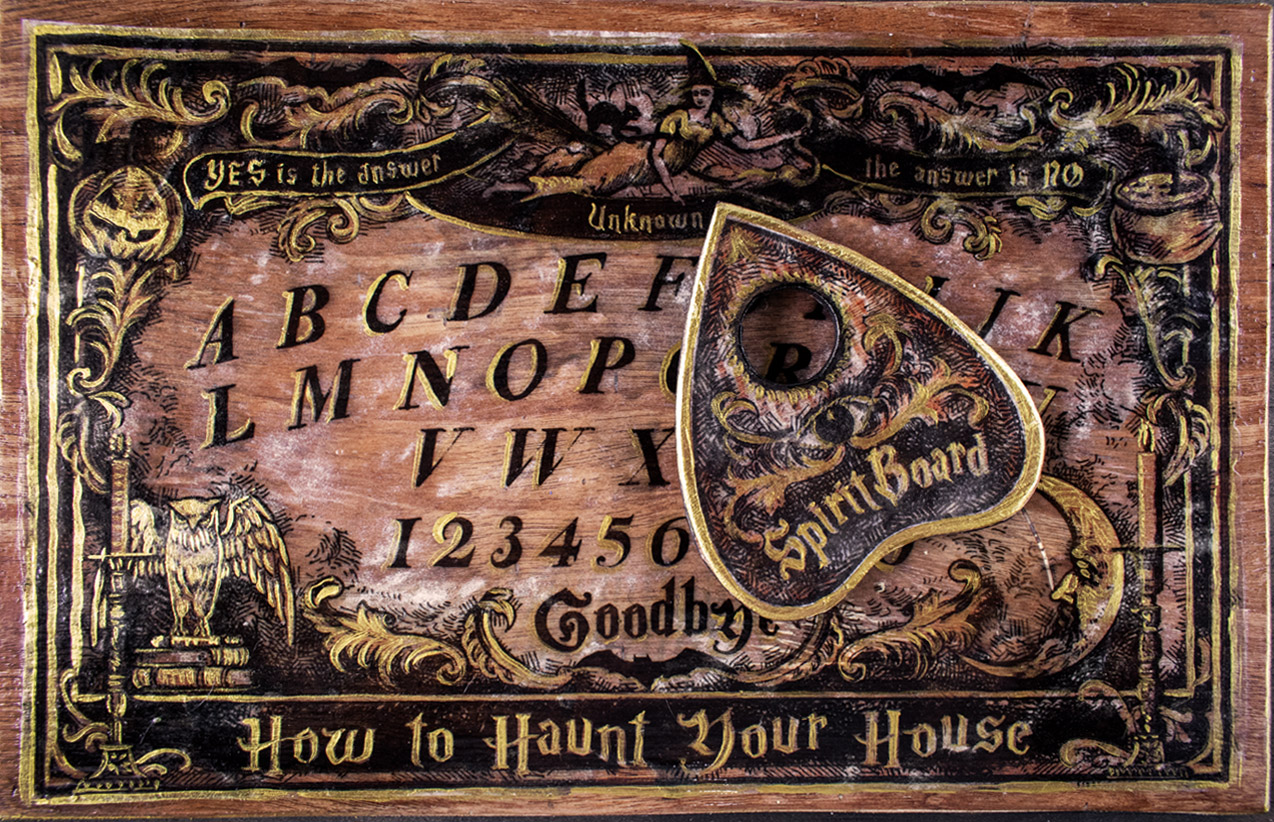
How to Haunt Your House brings you a step by step custom Spirit Board (Ouija Board) with a Planchette. Download the free design patterns from our website. The process uses Mod Podge to transfer an Inkjet print to wood. This DIY Halloween prop project will add an authentic spooky vibe to your home haunt! Download Design Patterns below video.
DOWNLOAD DESIGN PATTERNS: (Yes, they are printed backwards!)
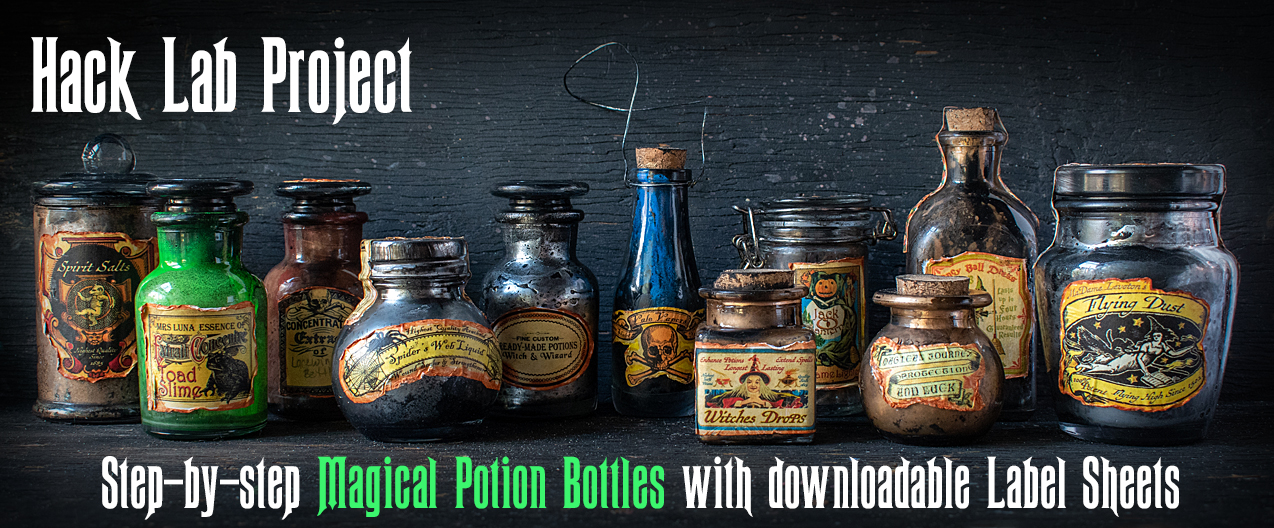
These are mini-sized glass bottles I bought at Hobby Lobby. I wanted to try creating non-liquid bottles that would always look like they were full of magical contents and not dry out or dissipate over time. Using the basic idea of creating a faux distressed mirror I turned the idea into magic potion bottles that would have the same distressed quality inside the bottle. Each bottle has a different base color with a final black layer to seal the interior effect.
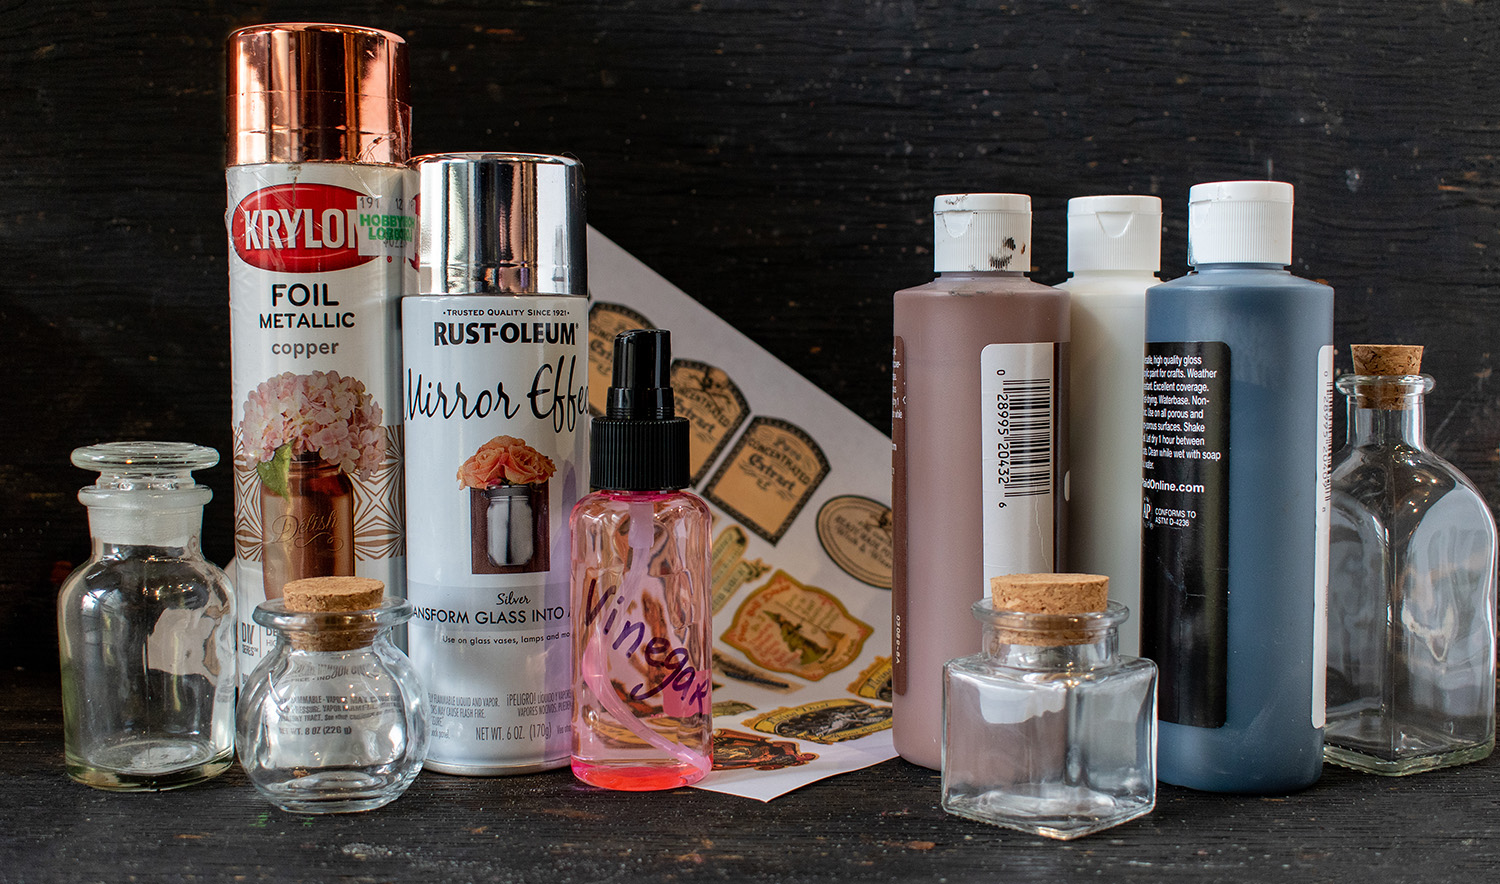
You will need a small amount of vinegar in a spray bottle, some clear glass jars, magic label print outs, spray paint in various color, metalic spray paint colors, mirror effect spray paint, Mod Podge glue, brush, color markers, scissors, craft paints (as needed).
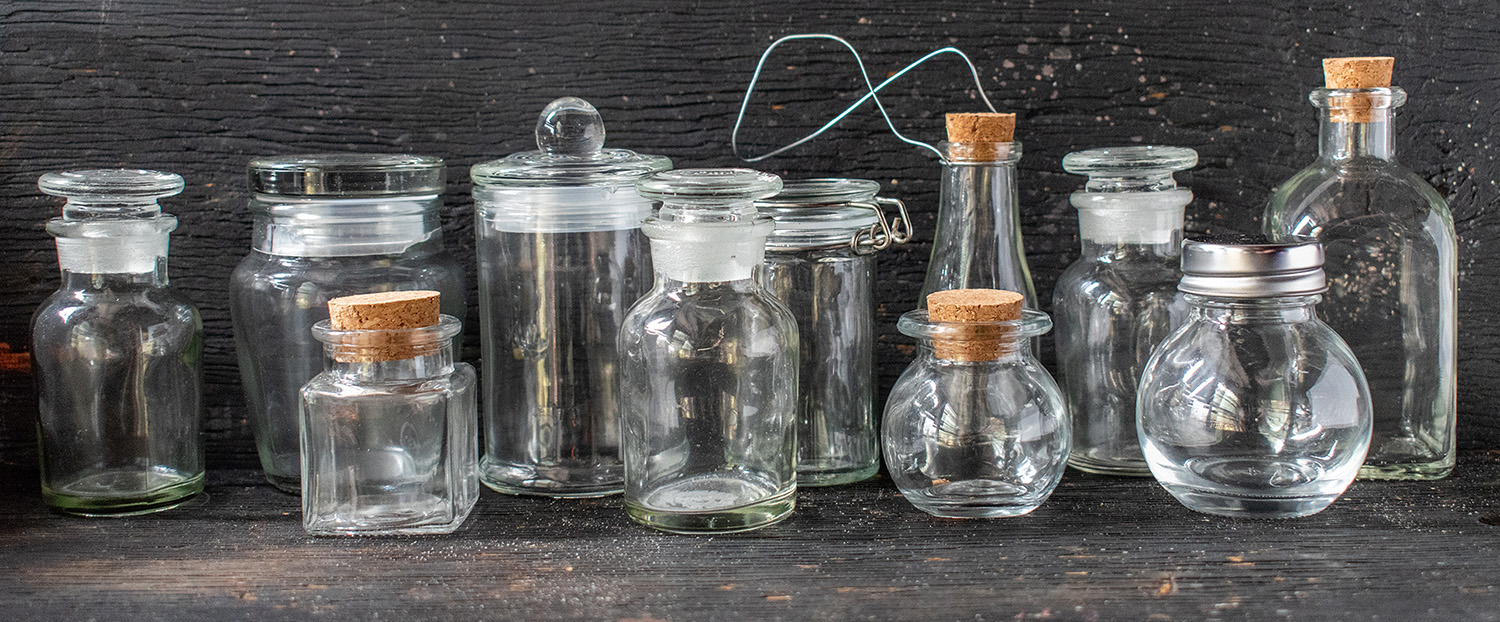
The bottles may have different kinds of lids. That's alright! It helps mix things up a bit in the overall look. Take the jars outside to do the interior painting. It will be a messy job so you might want to wear gloves.
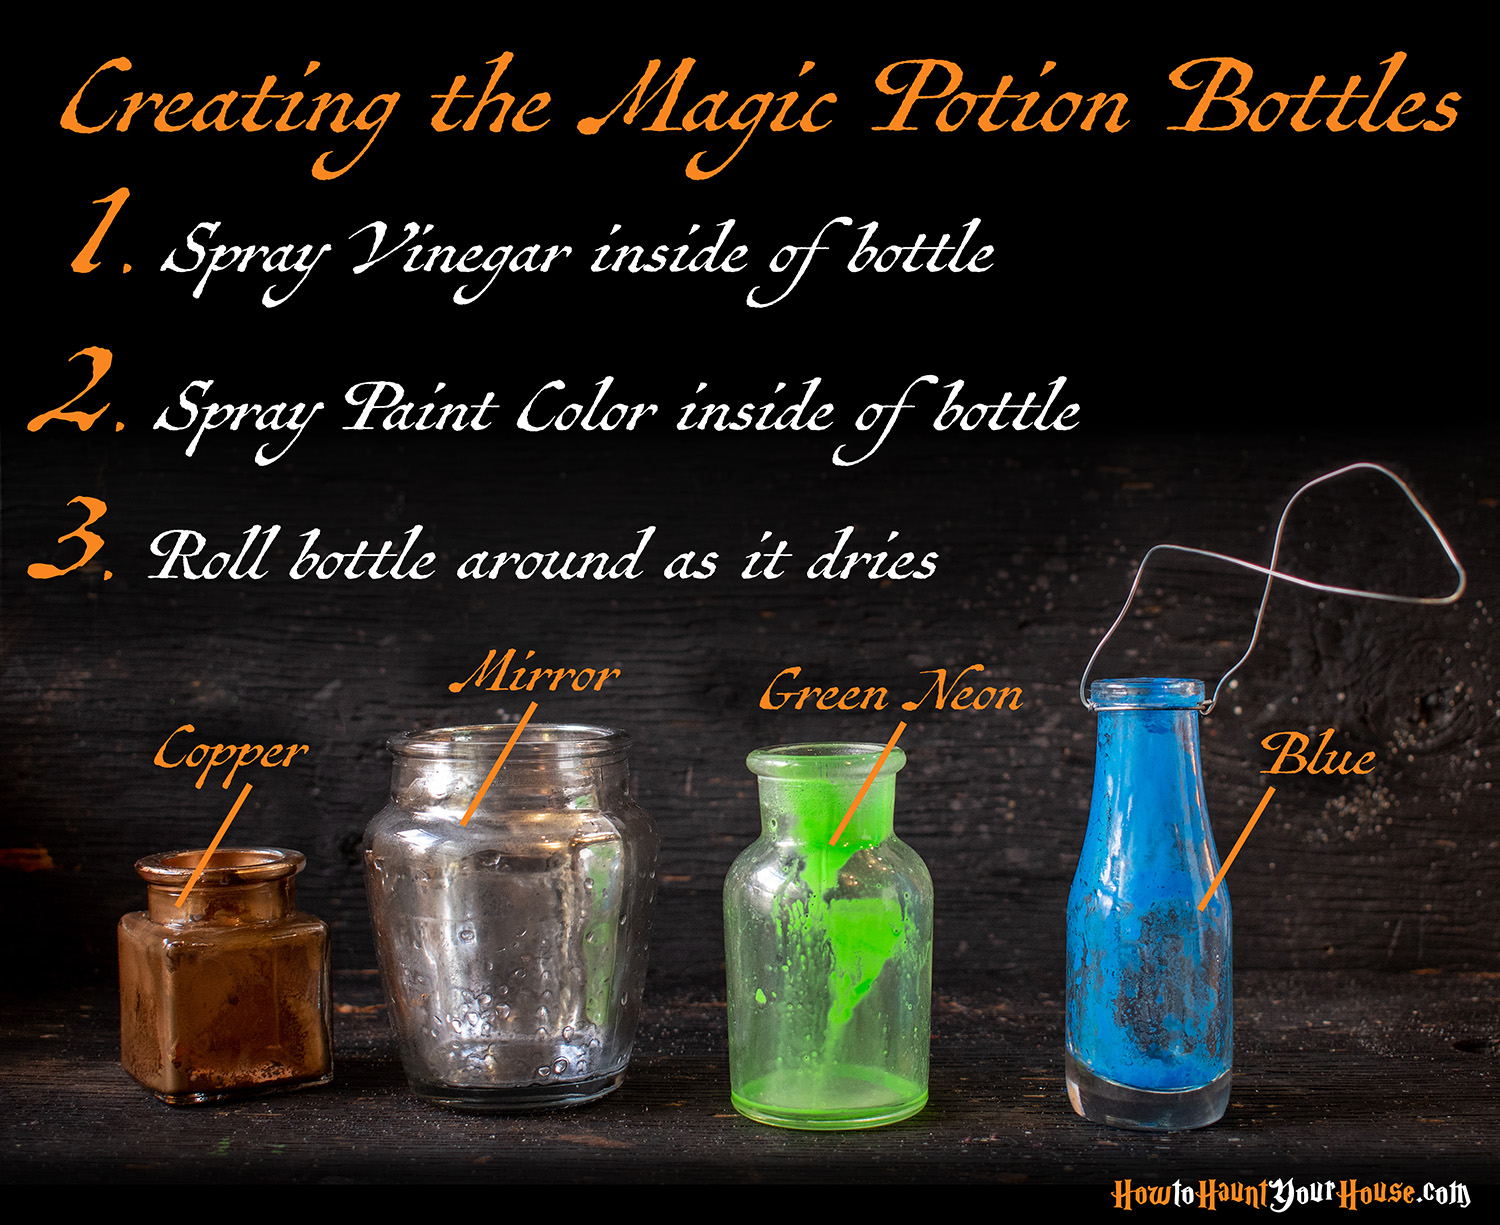
Use the spray bottle of vinegar to spray one spray amount inside the bottle. They spray a color inside over that. One or two sprays should do it. Roll the bottle over and over slowly as spread the color around as it dries. After a few minutes let the bottle sit and dry completely four about an hour in the sun. Do the other bottles in their colors using same process.
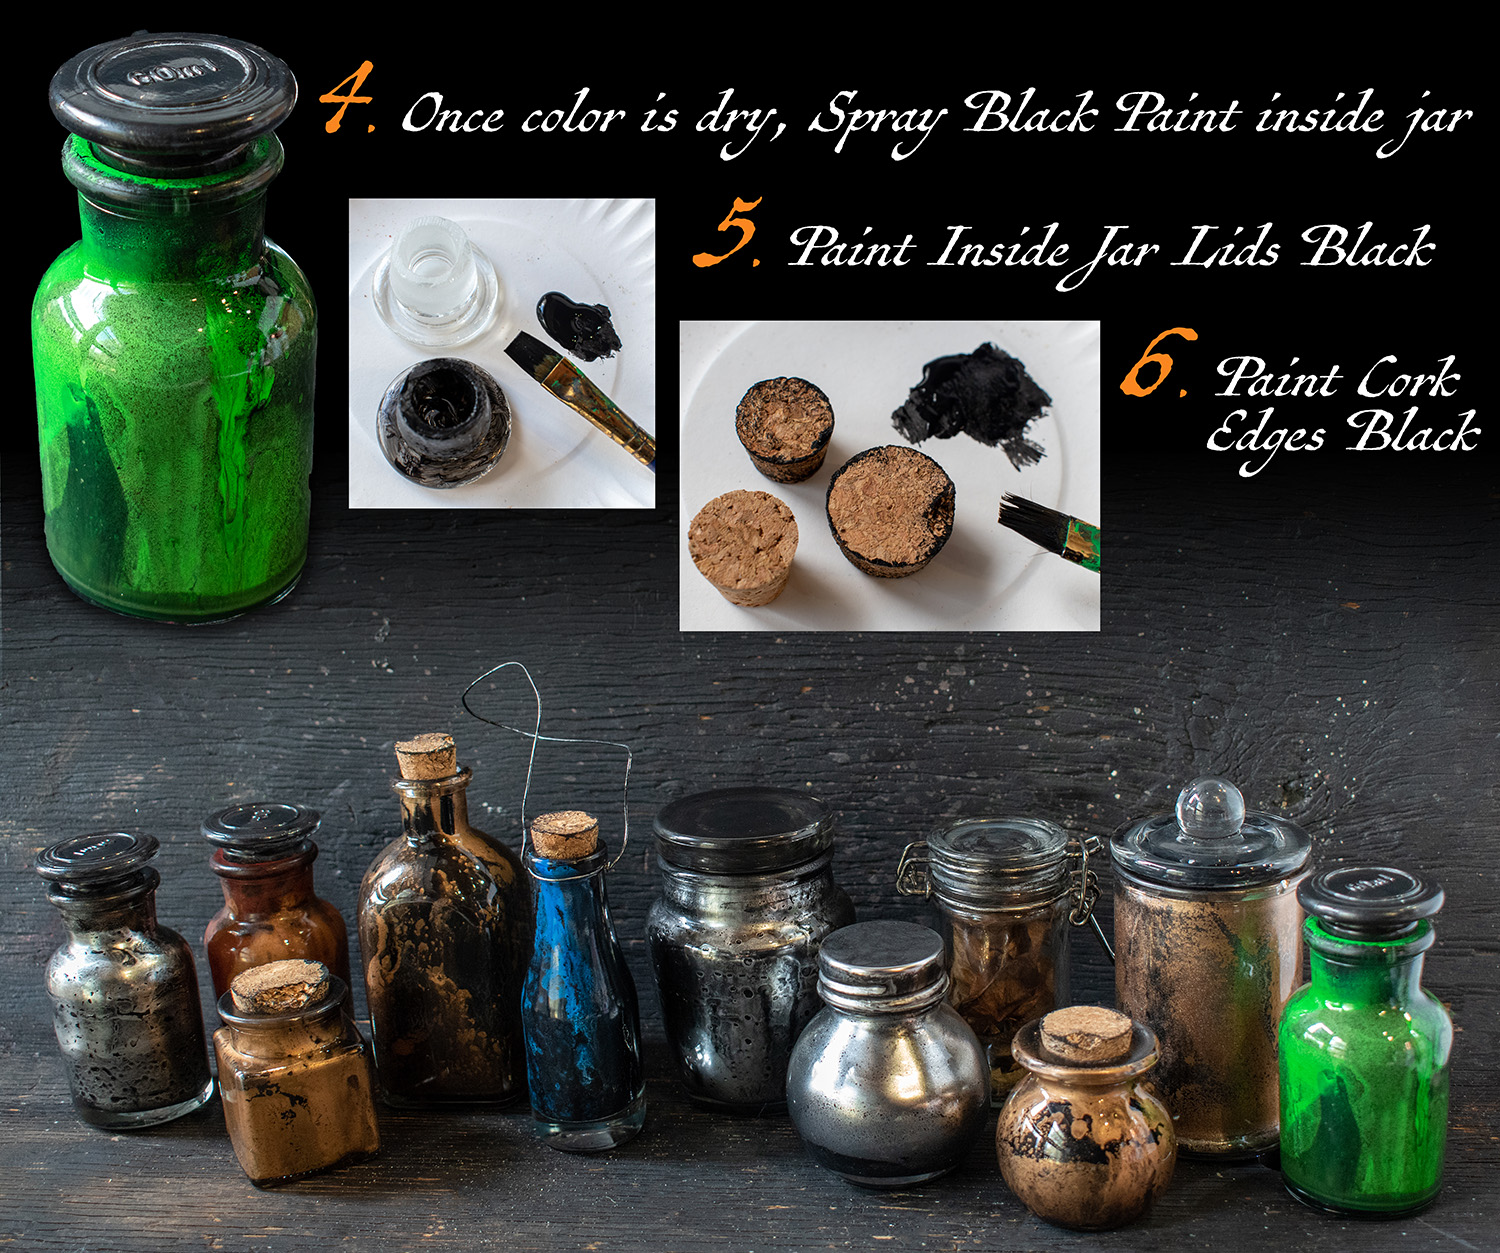
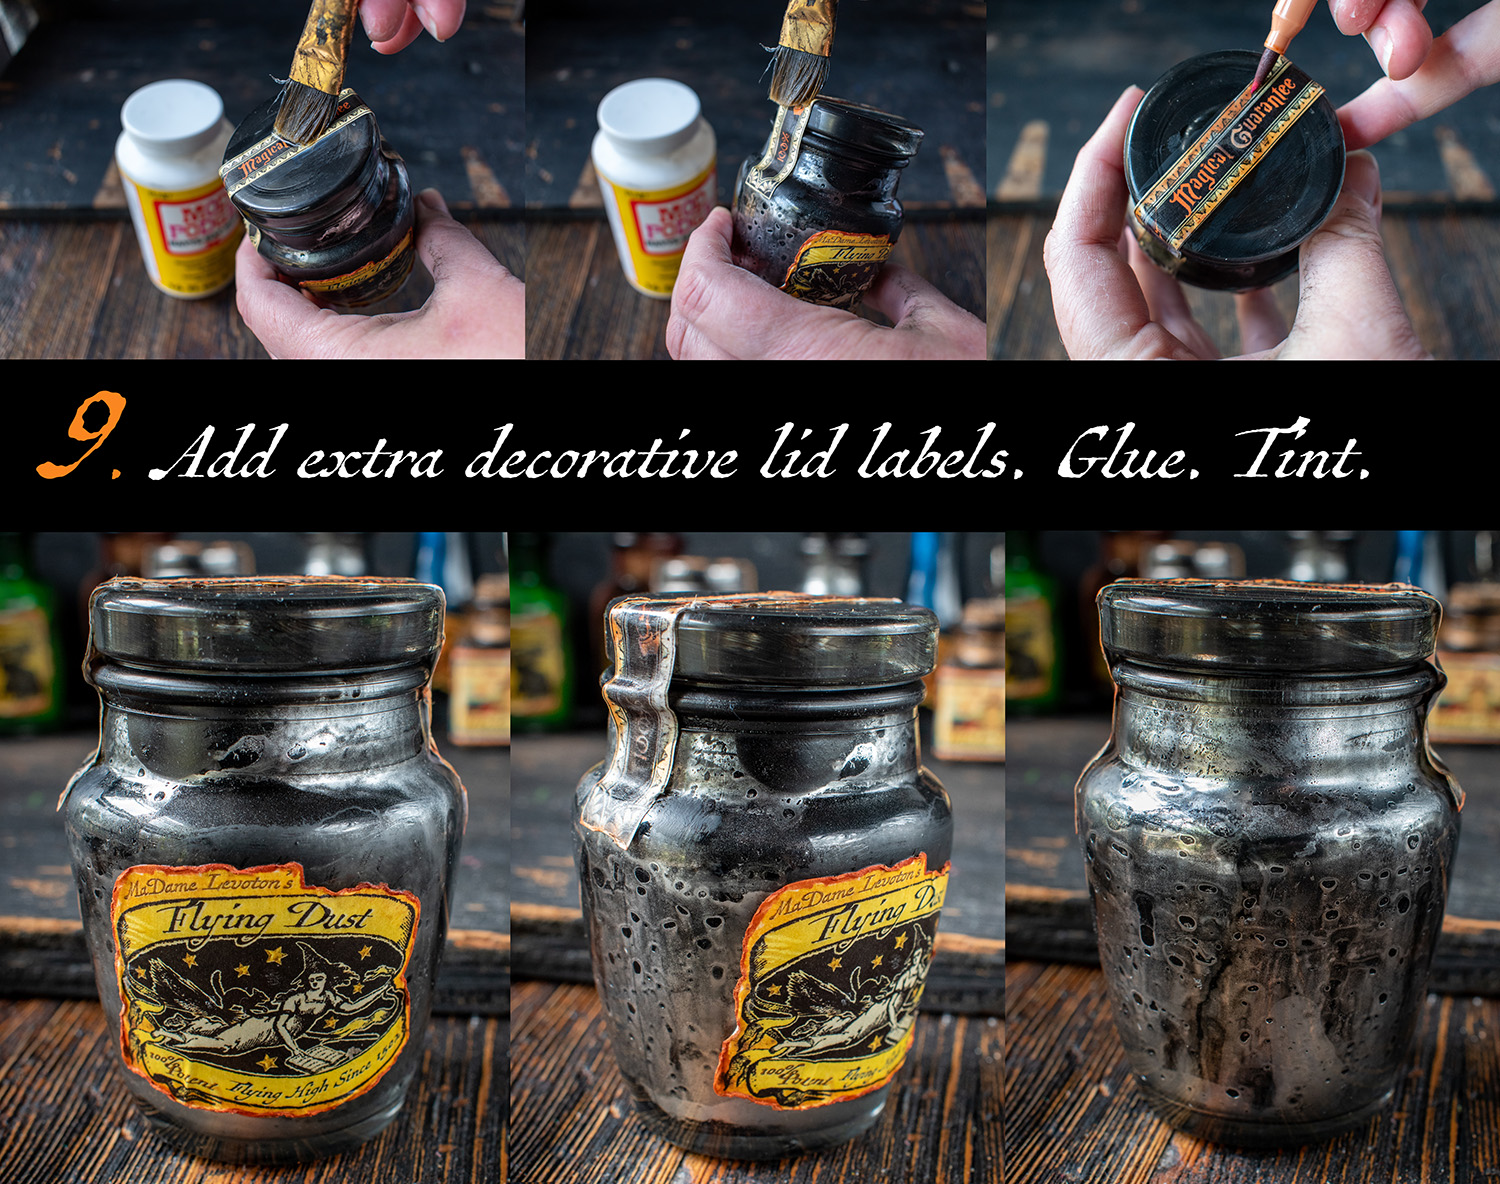
Once dry, spray the bottles with black spray paint inside over the color layer. Let dry in sun for about an hour. While you wait, paint the lids of each bottle to help them match the distressed look of the bottles. If the lid is cork, tear small bits away from the edge. Use a brush to paint the cork edges with black or brown craft paint. For glass lids, paint the inside with black craft paint and let dry.
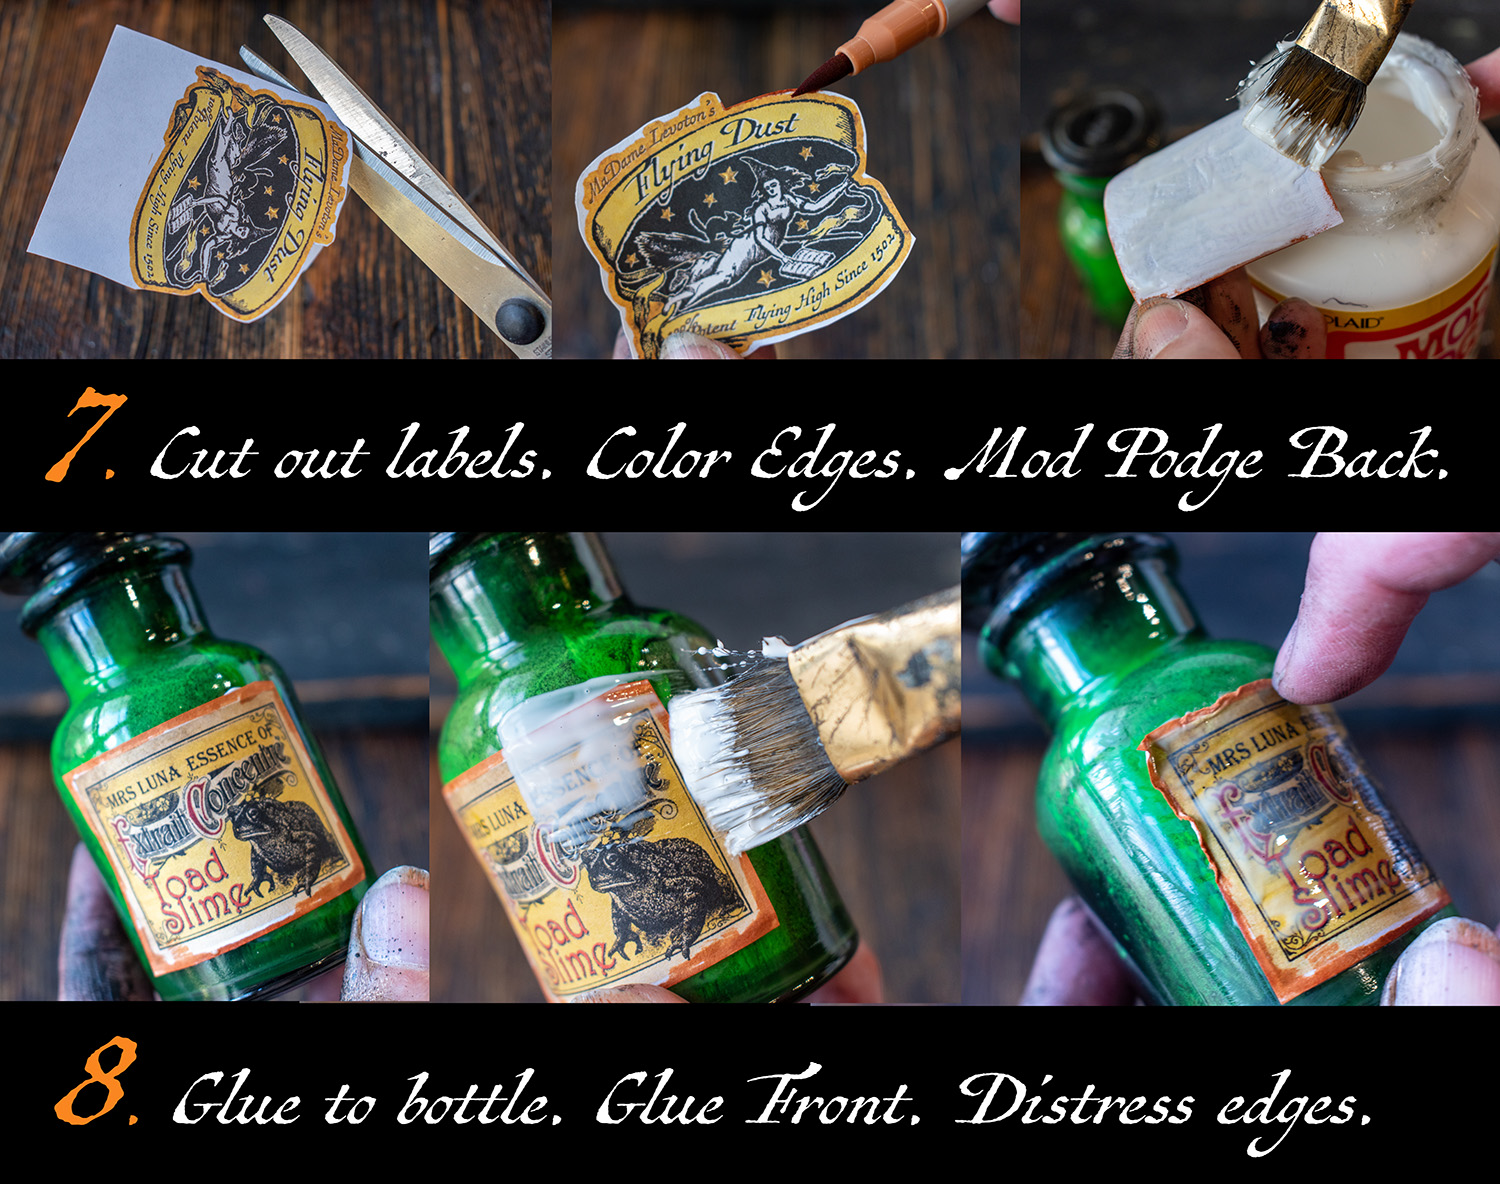
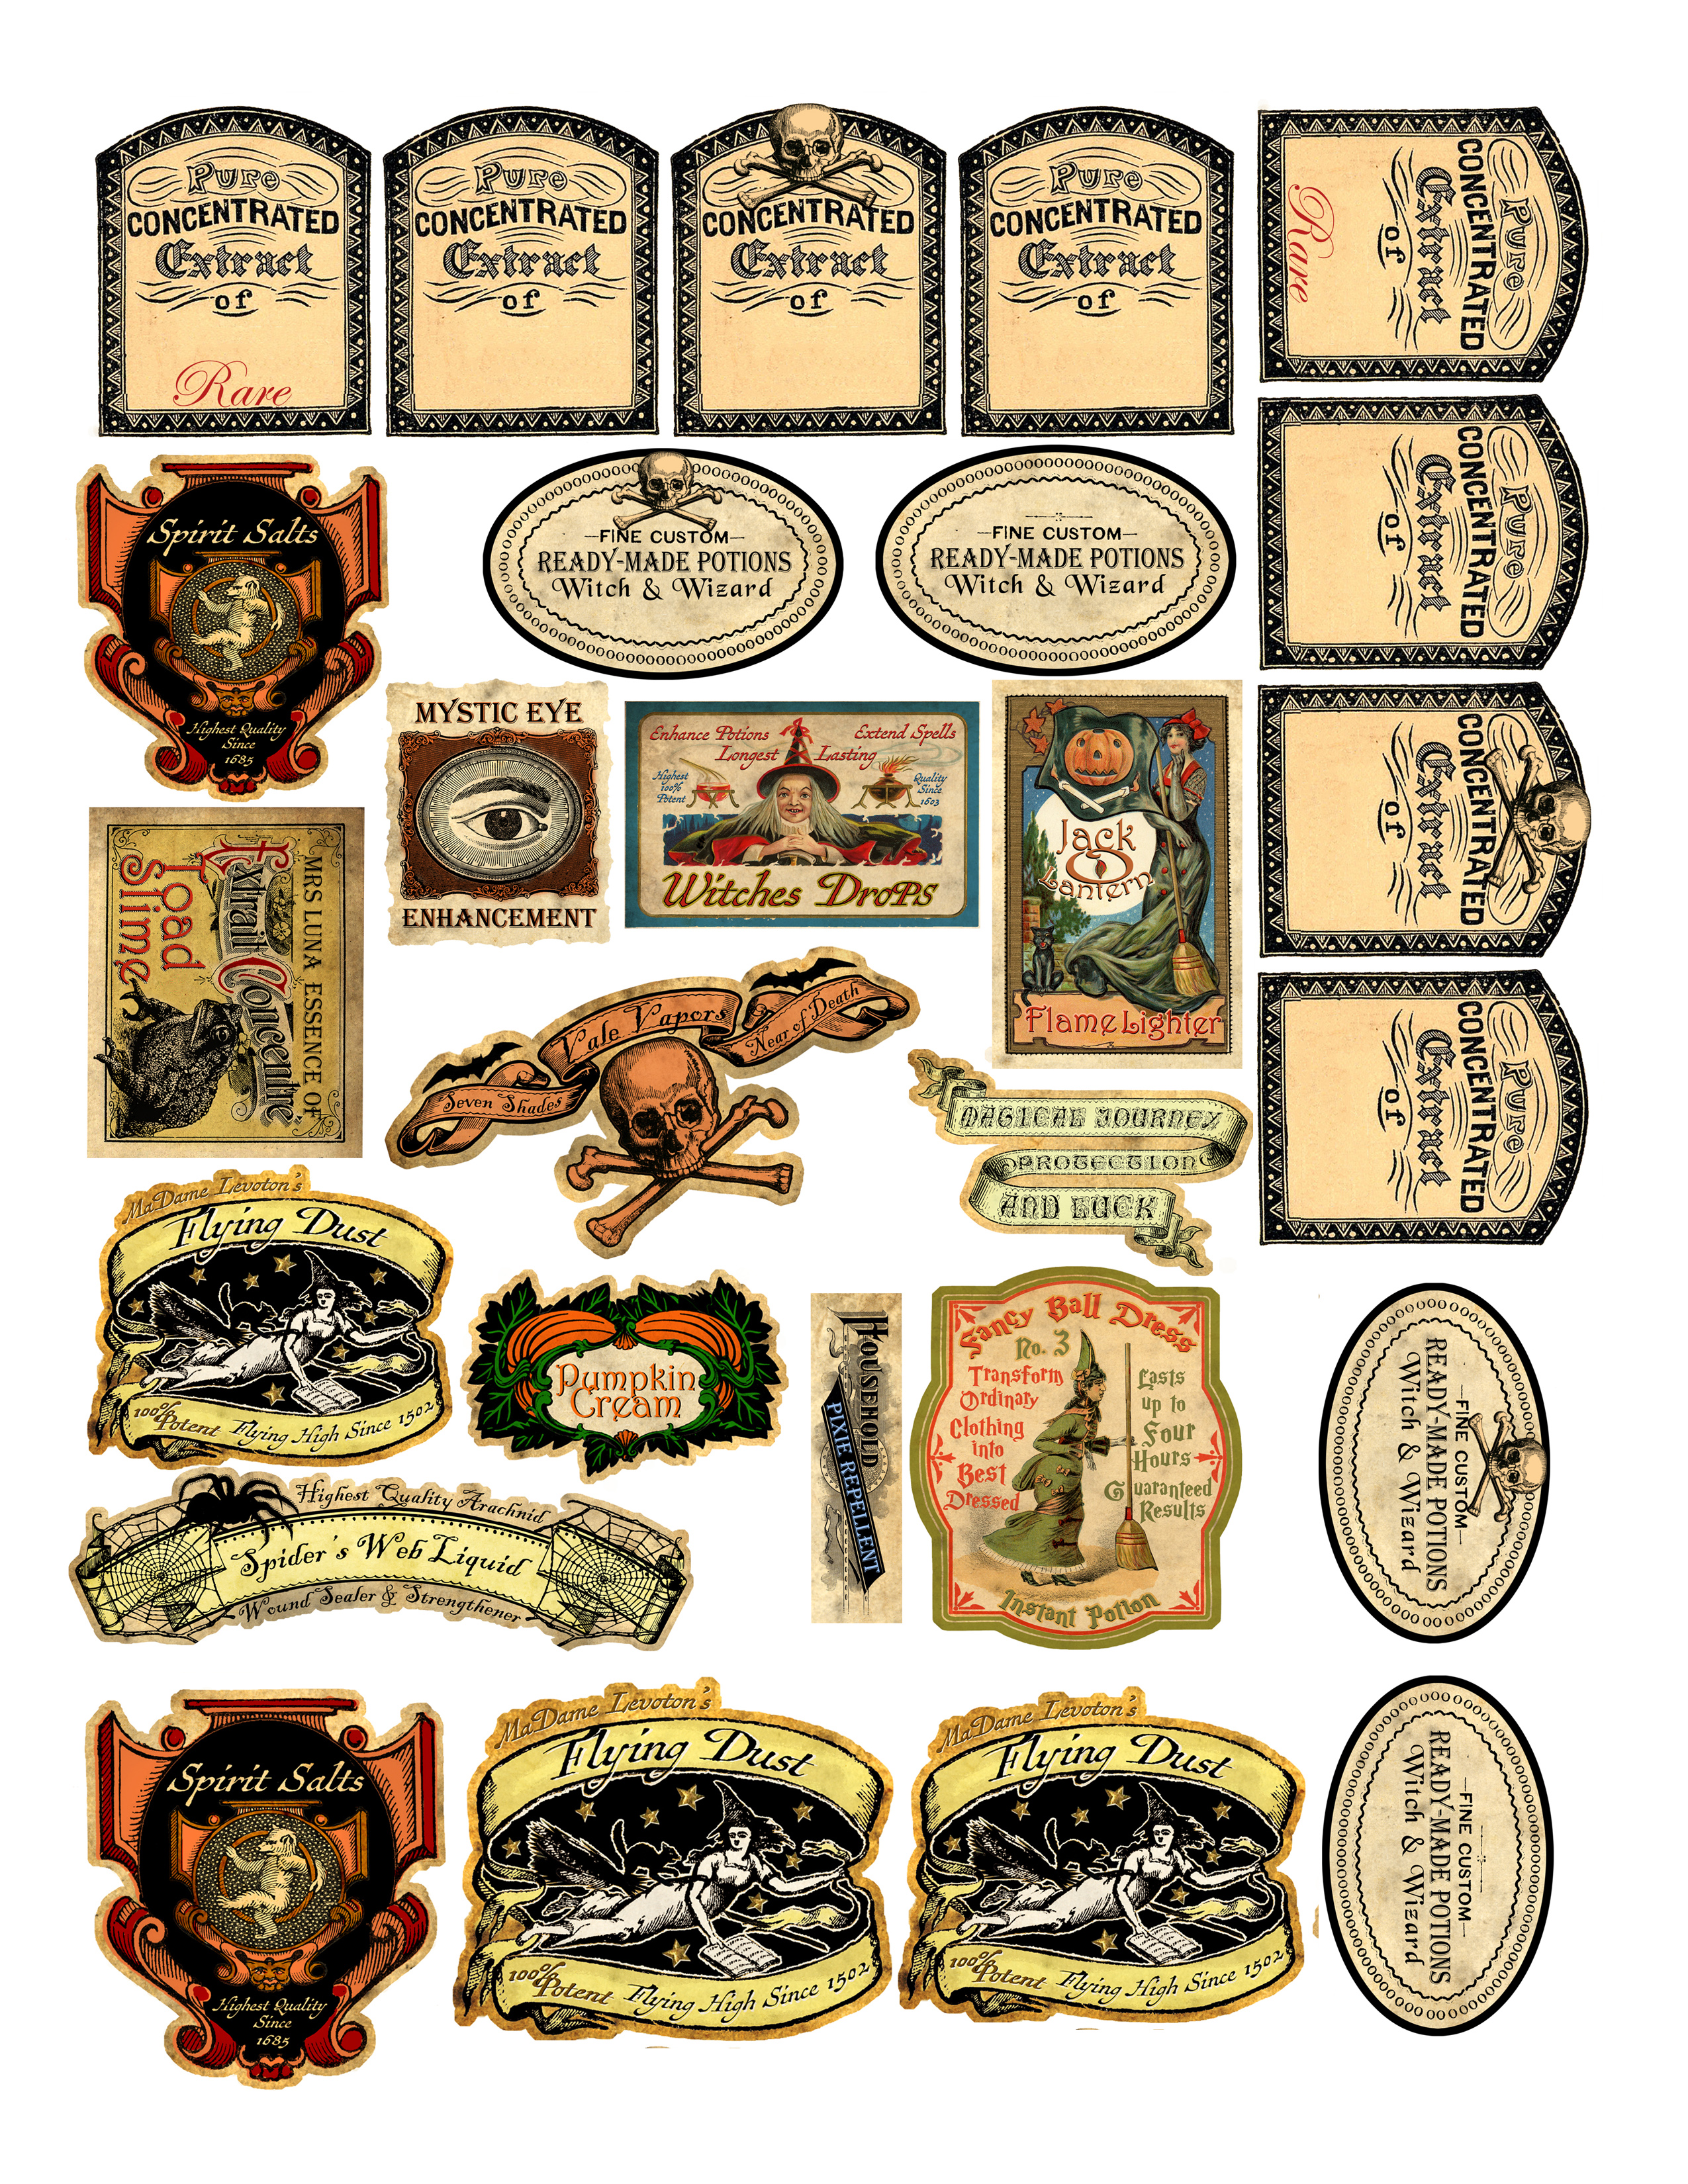
Download the free label sheets using the aproximate sizes needed for the bottles. Cut them out. Use a marker to color in any white paper edges. Use a brush to coat the back of the label with Mod Podge and place on jar. Coat the outside of the label with more Mod Podge. While the glue is still wet, use a fingernail to distress the label edges.
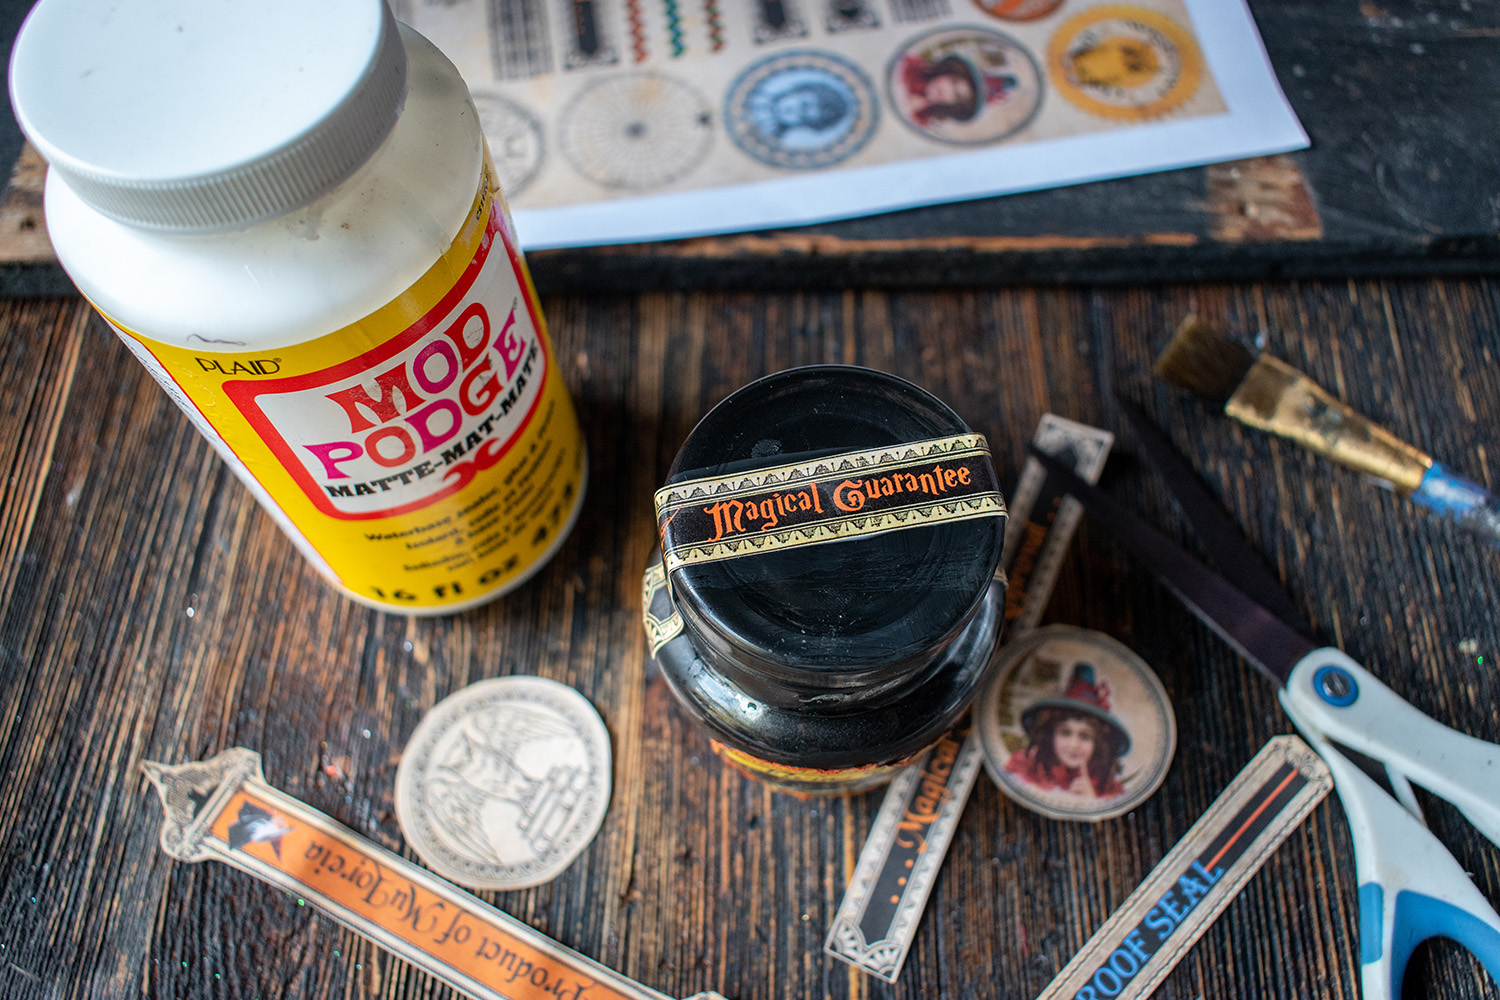
For extra special magical potion bottles, add lid label strips or panels (also free download).
Like a fancy French jar of jam, these magical products are quality sealed and company branded!
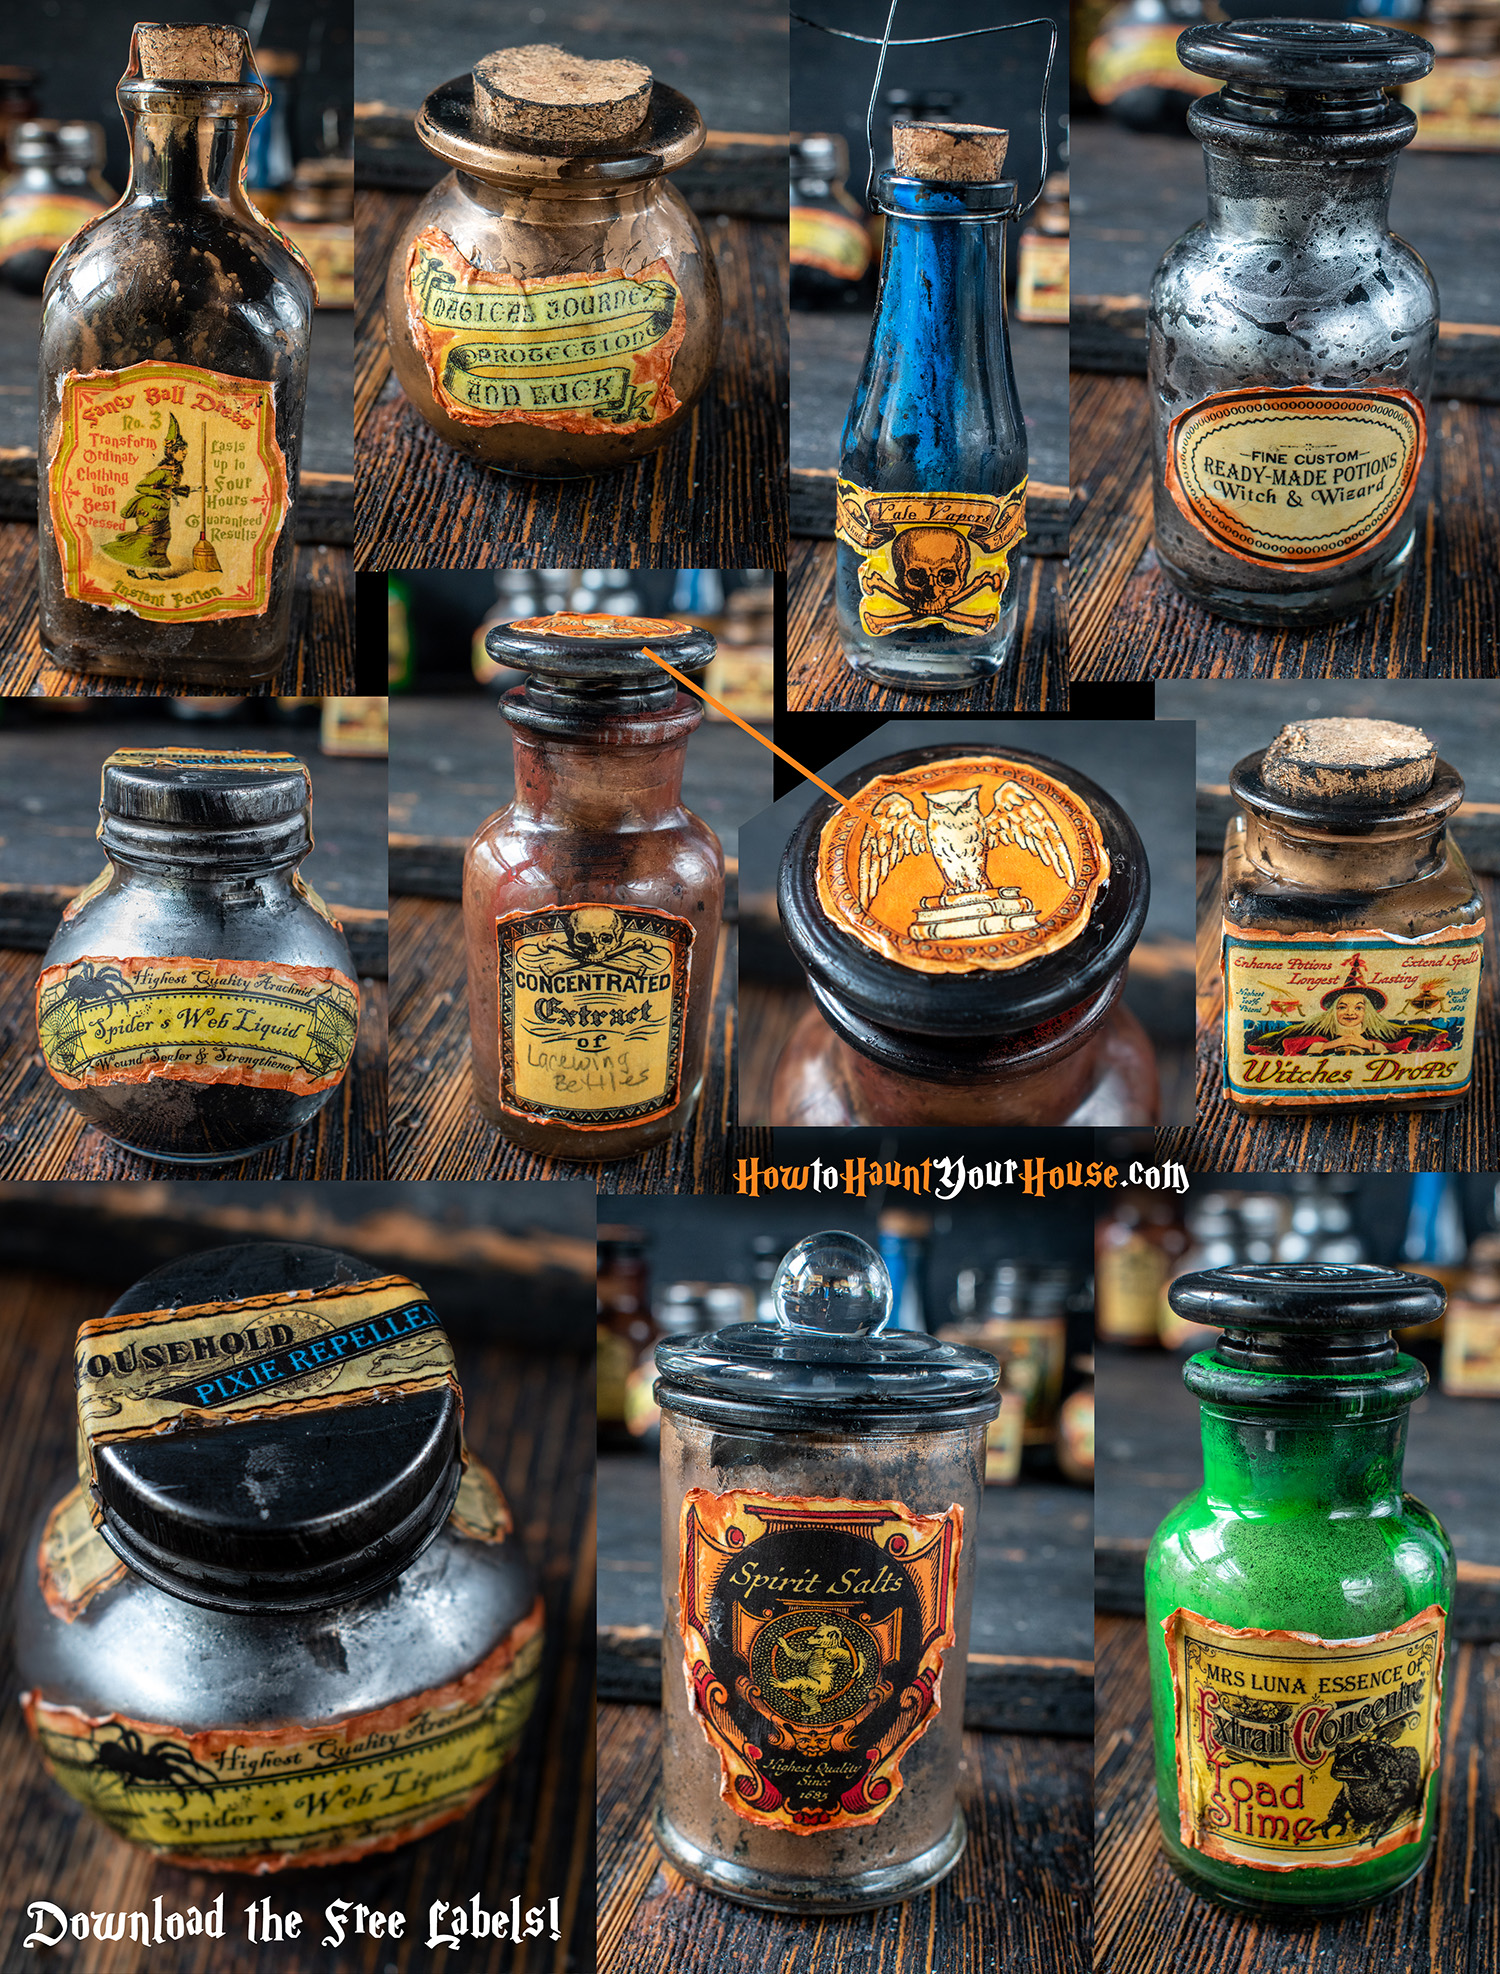
We hope you enjoy making this project and adding them to your Halloween prop pantry. Keep on haunting all year long!
Download Label Sheets Here
A video was made using slightly larger bottles with custom lid props

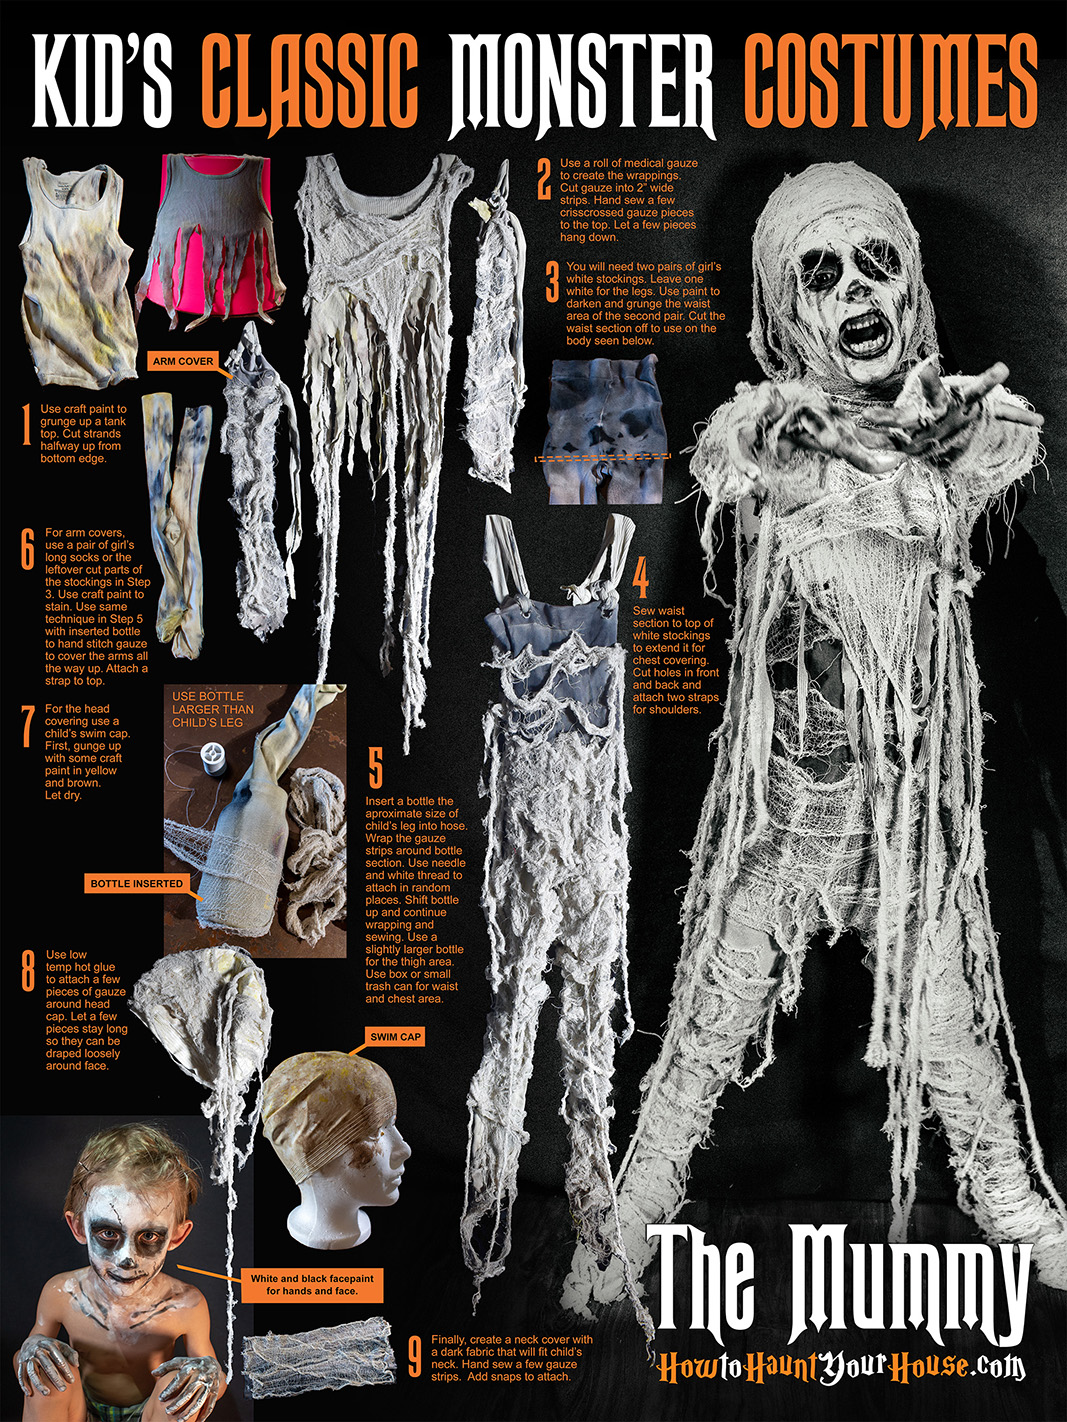
You will need: kid's tank top, roll of medical bandage gauze, child-sized swim cap, two pairs of white girl's stockings, pair of girl's white, long socks, needle and thread, low-temp hot glue gun, craft paints (white, black, brown, yellow), scissors, plastic or glass bottles around the size of child's arm and leg
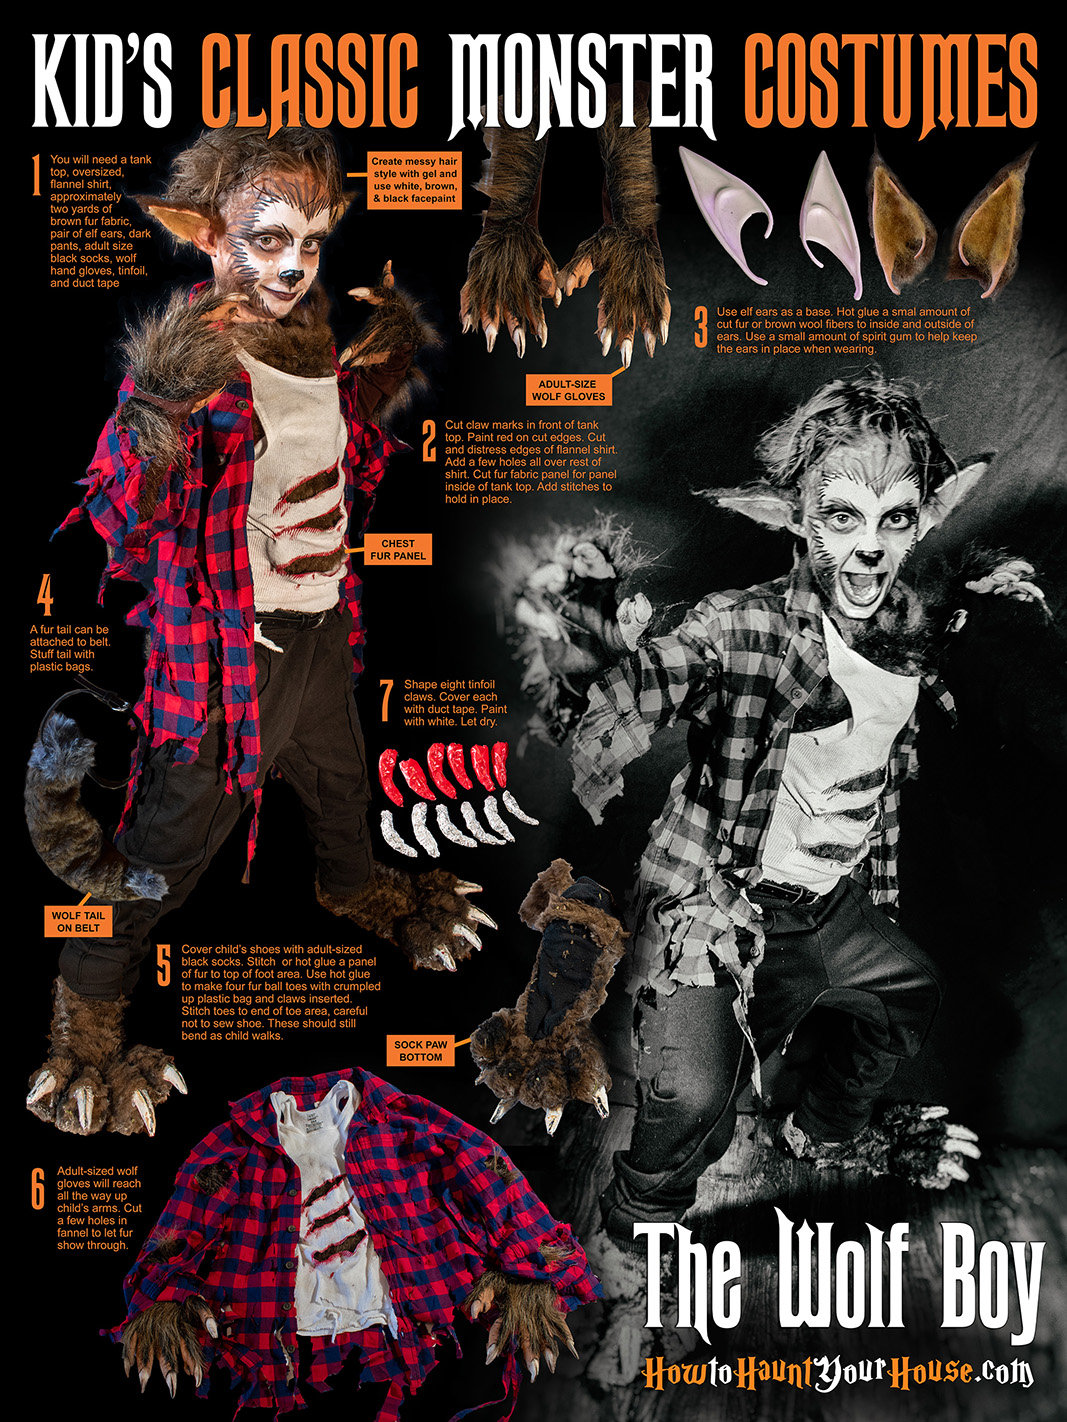
You will need: kid's tank top, oversized flannel shirt, dark pants or jeans, two yards of fur fabric, adult-sized wolf costume gloves, costume elf ears (or similar pointed ears), small amount of brown wood or cut fur (for ears), tin foil, duct tape, belt, plastic bags for stuffing, craft paints (white, black, brown, red), scissors, hair gel, face paint
